Configuring an Anti-Screenshot Whitelist
Procedure
- Choose .
- Click
 for an SSL VPN gateway.
 - Choose .
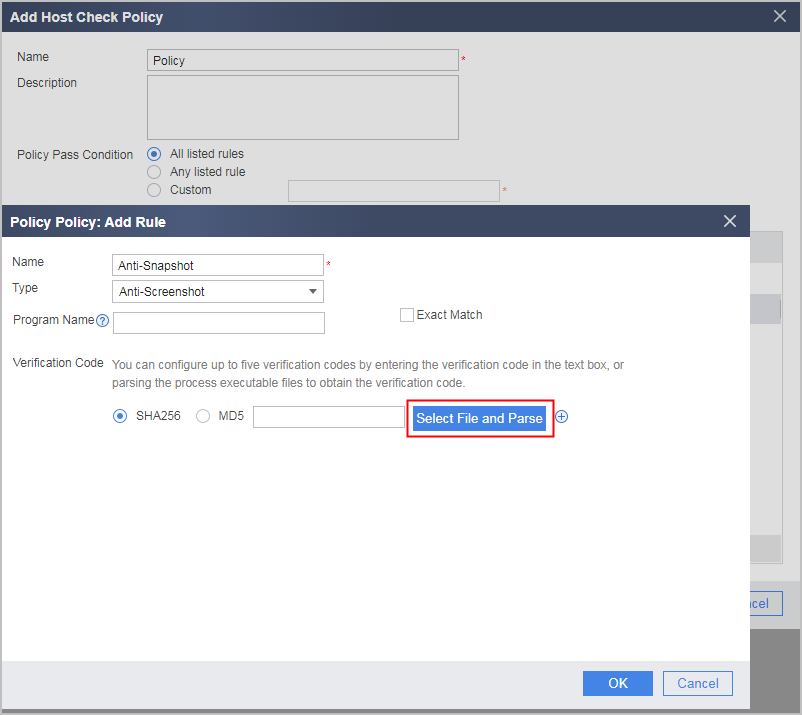
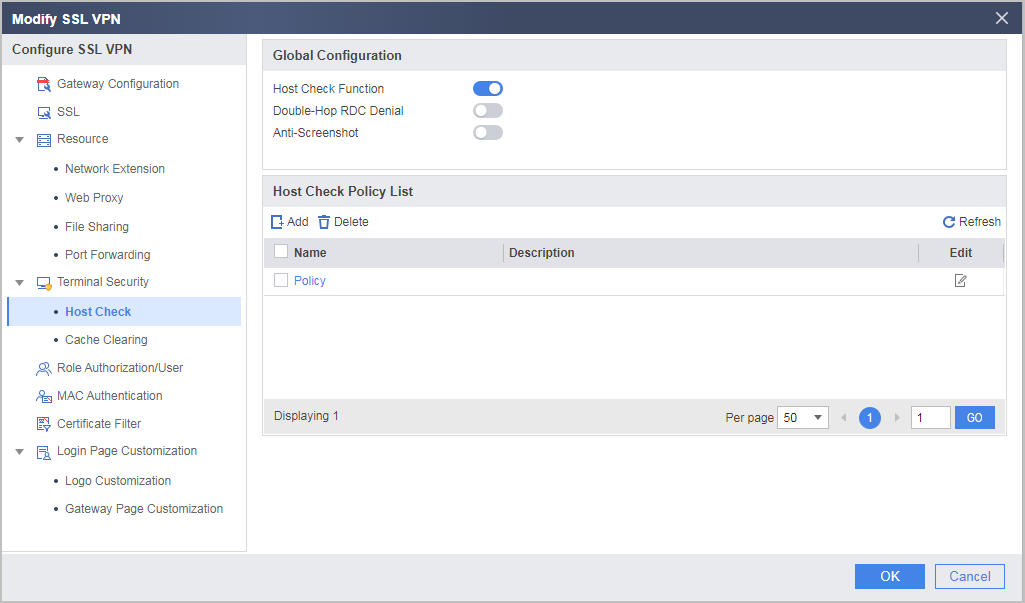
- Select Host Check Function under Global Configuration, click Add under Host Check Policy List, and create a host check policy.
After the Anti-Screenshot option is enabled globally, the system checks for the following screenshot programs by default:
- PrintScreen
- HyperSnap
- SnagIt
- EasyCapture
- SnippingTool
- RdfSnap
- Morrowind
Users can also define their own rules and specify the screenshot applications to be prevented. If whitelist rules are configured, they take precedence over the anti-screenshot rules.
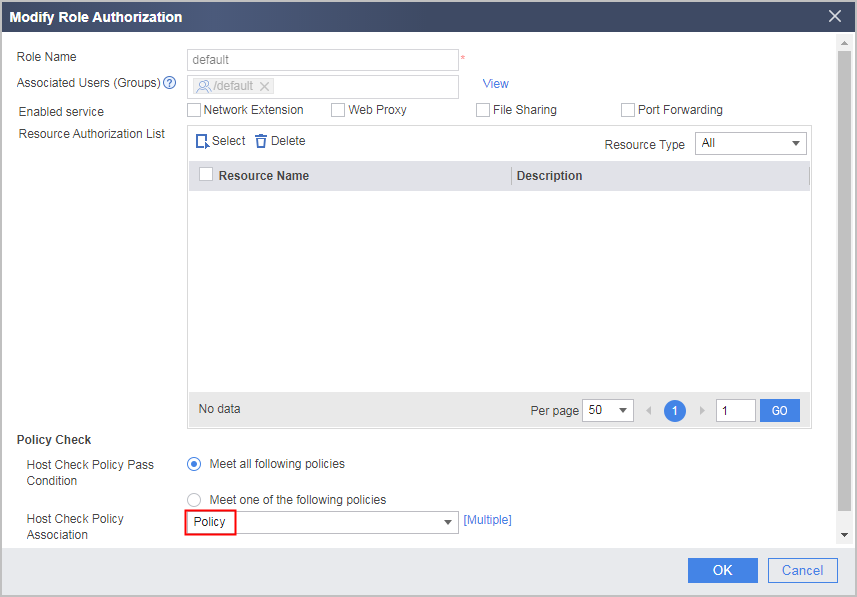
- Select Role Authorization/User, reference a created host check policy in the corresponding role, and click OK.
Verifying the Configuration
- Enter https://1.1.1.1:443 in the address bar of Internet Explorer to access the SSL VPN login page.
- In the login window, enter the user name and password, and then click Login.
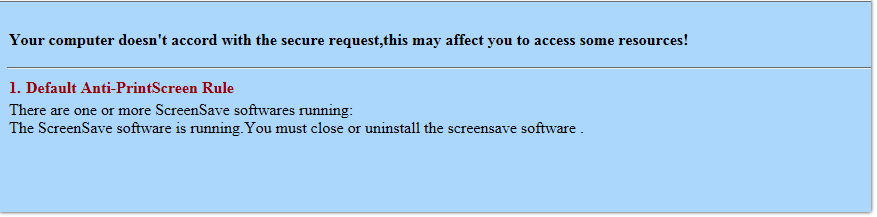
If no screenshot program is running on the host, the host passes the check, and the user can log in to the virtual gateway successfully. If a screenshot program is running on the host, a message indicating that the terminal security check fails is displayed in the browser. The browser also provides suggestions on how to pass the security check. If a user starts a screenshot program after logging in to the virtual gateway successfully, the user host will block the screenshot program by default, and the SSL VPN connection between the user host and the virtual gateway is automatically torn down. Screenshot software can be used only after the SSL VPN is disconnected.