Logging In to the SSL VPN Gateway
Prerequisites
When you log in to the SSL VPN gateway using a browser for the first time, you need to install the ActiveX control as prompted. The ActiveX control is integrated in the patch file of the SSL VPN client, except the USG6610E/6620E, USG6630E/6650E, USG6680E and USG6712E/6716E. The administrator needs to obtain the patch file and load it to the device through the SSL VPN client patch upgrade function. For details, see Installing the ActiveX Control.
Procedure
- Obtain user login information from the FW administrator.
Depending on SSL VPN user authentication modes, users obtain different user login information and perform different operations.
- Local authentication and server authentication: Users obtain user names and passwords from the FW administrator.
- Certificate-anonymous authentication: Users obtain and install client certificates.
- Certificate-challenge authentication: Users obtain client certificates and passwords and install these client certificates.
- Enter https://gateway IP address:port or https://domain name and press Enter.

To access an SSL VPN gateway that shares its public IP address, enter https://public domain name:port/subdomain name. If the port number is the default value 443, do not enter the port number.
- In the displayed security warning dialog box, click Yes. The SSL VPN gateway login page is displayed.
If users want to eliminate the security warning dialog box, perform the following operations:
- On the SSL VPN gateway login page, click Download Certificate here to download a CA certificate.
- Install the CA certificate on a local computer. For details about how to install the CA certificate, click Certificate installation guide.
- On the SSL VPN gateway login page, enter user information and click Login.
- When Internet Explorer 10 is used to log in to the virtual gateway, the page may be not completely loaded. In this case, manually refresh the page.
- When Internet Explorer 11 is used to log in to the virtual gateway, you need to add the virtual gateway address to the browser compatibility view. Click Tools on the upper right of the browser, select Compatibility View Settings, and add the virtual gateway address on the tab that is displayed.
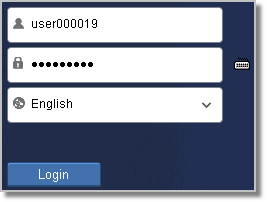
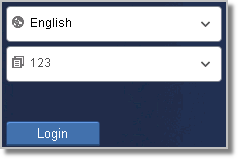
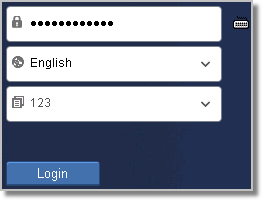
Depending on SSL VPN user authentication modes, users enter or select different user login information. For details, see the following figures.
- Figure 1 Local authentication and server authentication
- Figure 2 Certificate-anonymous authentication
- Figure 3 Certificate-challenge authentication
- Use multiple SSL VPN services.
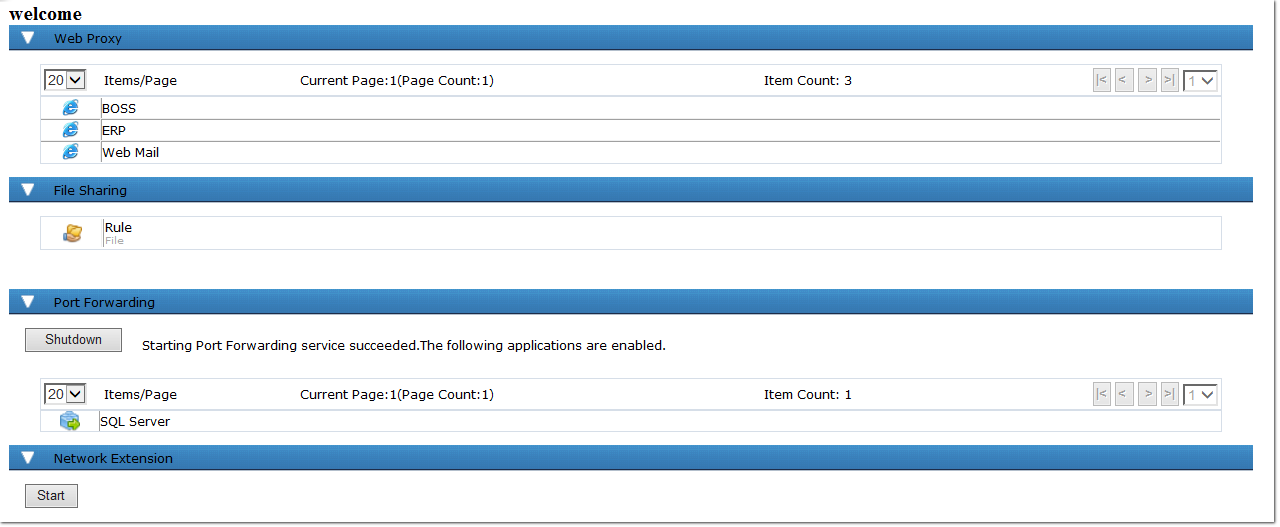
As shown in Figure 4, SSL VPN services that users can access are displayed on the SSL VPN gateway page.
Methods to use the SSL VPN service are as follows:
Web proxy/File Sharing/Port Forwarding
Under Web proxy/File Sharing, click the resource name, such as ERP. Port Forwarding must be accessed using the corresponding client or program.
Network extension (web and client software)
Log in to the virtual gateway, click Start on the Network Extension tab to automatically install the virtual network adapter to obtain a virtual IP address. After installation, the following figure is displayed.
Click Options to download and install the network extension client.
The client can be used only when you have not logged in to the virtual gateway. URL on the network extension client UI is the address of the virtual gateway.